Zoom is videoconference and audioconference software hosted in the cloud that enables communication across mobile devices, desktop computers, and video-enabled classrooms.
Zoom is available to all faculty and students. If your school uses a different videoconferencing platform, please consult your school’s IT department.
Other links that might be useful:
Additional information and how-to guides for using Zoom with Brightspace can be found on the Brightspace helpsite.
Quick Reference Guides
Join Zoom Meeting via SSO
Use these instructions to join a Zoom meeting after logging in via SSO.
- Locate the Zoom app
 on your computer and click to open.
 - Click Sign In.
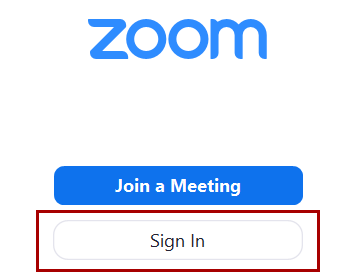
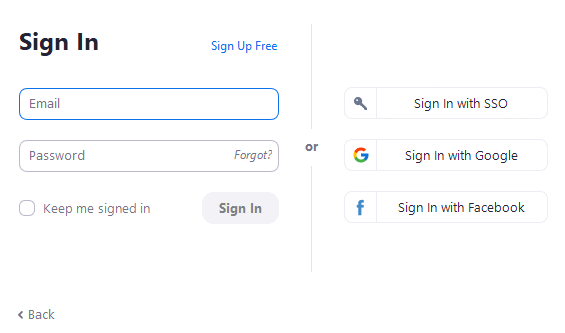
- Click Sign In with SSO.
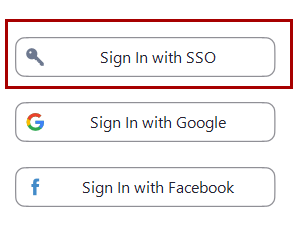
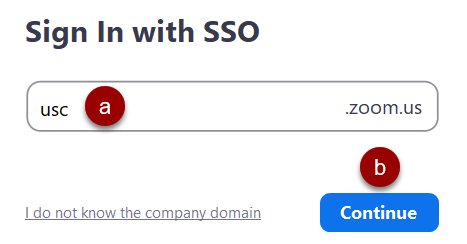
- On the Sign In with SSO screen:
- (a) Input “usc” in the Company Domain
- (b) Click Continue.
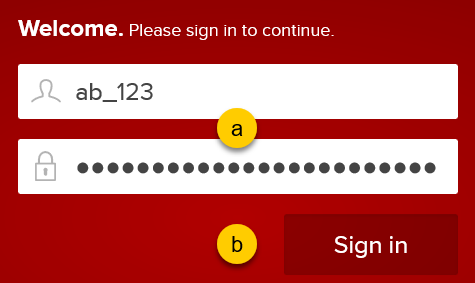
- On the Welcome screen:
- (a) Enter your Net ID and password.
- (b) Click Sign in.
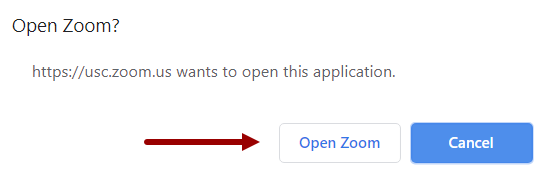
- A browser window opens. Click Open Zoom.
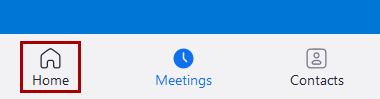
- The Zoom app opens. Click Home.
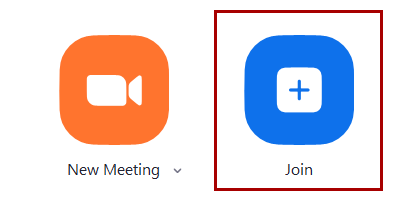
- Click Join.
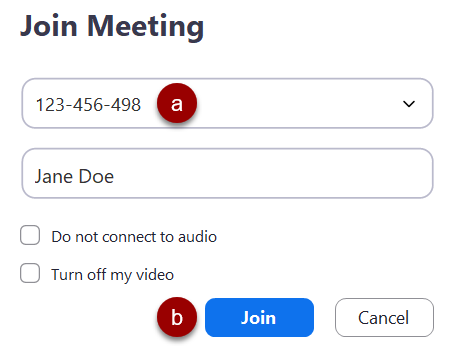
- On the Join Meeting screen:
- (a) Enter the meeting ID. You will find this in the invitation or e-mail from the host.
- (b) Click Join.
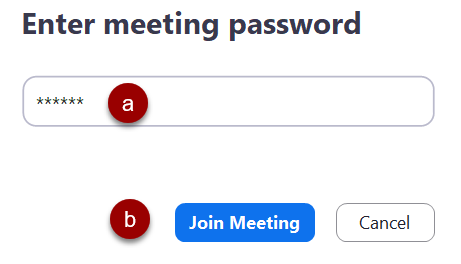
- If prompted:
- (a) Enter a meeting password. You will find this in the invitation or e-mail from the host, usually below the meeting number.
- (b) Click Join Meeting.
- Wait for the meeting to start and for the host to admit you into the meeting from a waiting room. This task is complete.
Join a Zoom Meeting Via Voice
- Open the meeting invite in Outlook.
- Scroll to the Join by Telephone section. [Example image below.]
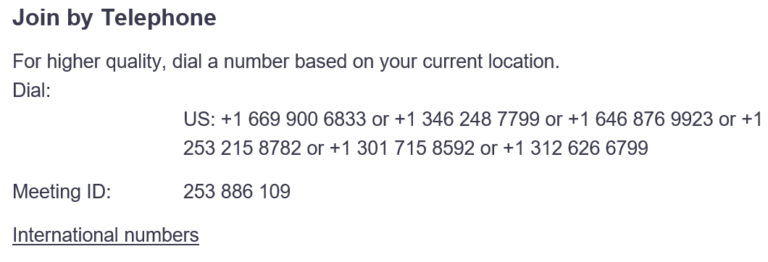
- Call the number listed after US.
- Enter the Meeting ID found next to Meeting ID.
Note: All dial in participants will be placed in the Waiting Room for the host to admit.
Zoom – Host and Co-Host Controls / Alternate Host Controls
- Please visit https://usc.zoom.us/meeting#/upcoming.
- Select the meeting by clicking on the topic.
- Scroll to the bottom and select Edit.
- Select All if you want to add an Alt. Host to all the scheduled meetings or Select Only This meeting.
- Scroll to the bottom and select options.
- Add the USC NetID Email address to the Alternative Hosts field.
- Select Save.
The instructions below outline how to set up an alternate host for a Zoom meeting.
Visit https://support.zoom.us/hc/en-us/articles/360040324512-Roles-in-a-meeting to learn more about the various roles and permissions in Zoom meetings.
Live Transcription Service (Beta)
Client requirements:
The Live transcription feature has been confirmed to work with the following Zoom clients:
- Zoom Desktop Applications for Windows and macOS
- Zoom Mobile Applications for iOS and Android
Note: Live transcriptions cannot be accessed using the web client (browser) regardless of type.
Enabling within Zoom Meeting using the Zoom Desktop application:
- Click the Live Transcript button in the bottom of your Zoom meeting window.
- Select Enable Auto-Transcription.
- Note: to disable auto-transcription, just click the Live Transcript button once again, and select, Disable Auto-Transcription.
Enabling live transcriptions within Zoom Meeting using the Zoom mobile application:
Note: The following steps and images are for iOS.
- In the Zoom meeting click the More button located in the in meeting control bar.
- Select, Enable Live Transcripts.
In Meeting Controls:
Displaying Live Transcripts in the Zoom Desktop App
- As the Host: Click the ^ (caret) key to the upper right of the Live Transcript button within your Zoom meeting.
- As a Participant: Click the Live Transcript button within your Zoom meeting.
- Select View Full Transcript.
- The meeting’s audio will be transcribed into a window in the far right of the Zoom desktop app.
Saving the Full Transcript:
- The meeting’s transcript can be save as a .txt file.
- At the bottom of the full transcription window, select Save Transcript.
Check back for additional screen shots and instructions will be added to keep teaching and Service desk KB articles.
Zoom AI Companion – Meeting Summary
To enable the Meeting Summary with AI Companion for your own use:
- Sign in to Zoom.
- Click the Settings (gear) icon.
- Click the “View more settings” link at the bottom of the window. (This will open a web version of the Zoom settings page.)
- Click the AI Companion tab.
- Under Meeting, click the Meeting Summary with AI Companion toggle to enable or disable it.
- (Optional) Select the checkbox next to Turn on meeting summary automatically when meetings start to have meeting summary generation automatically start for meetings you host.
Note: This does not require the host to be present, as the Meeting Summary generation will begin as soon as someone starts your meeting. - (Optional) Select the checkbox next to Include the full summary text in the email to send the full summary as part of the email to appropriate recipients. If disabled, a link will be sent instead, which opens the summary through the web portal and requires authentication before viewing.
- Under the Automatically share summary with section, select Only me (meeting host) or Only myself (meeting host) and meeting invitees in our organization. Note that the All meeting invitees, including those outside of our organization feature is currently unavailable.
Note: Meeting invitees only includes participants that were originally invited to the meeting, as participants joining the meeting ad hoc (through the in-meeting contact invitation or a sharing the join link) will not receive the summary.

Share Recorded Zoom Sessions
How-to guides for sharing recorded Zoom sessions in Brightspace can be found on the Brightspace helpsite.
Zoom Transcription Service
Generating a Transcript
- Start a meeting or webinar.
- Click the Record button and choose Record to the Cloud.
- After the meeting ends, you will receive an email that lets you know that your cloud recording is available. A short time later, you also receive a separate email letting you know that the audio transcript for the recording is available. These emails include links to view your recordings and transcript.
Viewing and Editing the Transcript
- Click the link in the email OR navigate to the My Recordings page on the Zoom web portal and click the name of the recorded meeting.
Notes:- This opens the Recording Details page, which includes at least two files:
- Audio Only (m4a)
- Transcript Recording (vtt)
- If you selected other files for the cloud recording, these will also be included:
- Recording (mp4)
- Gallery view (mp4)
- Chat text (txt)
- This opens the Recording Details page, which includes at least two files:
- Click the Audio Only m4a file, or the Recording or Gallery View mp4 file, if available. The text of the transcript displays on the right-hand side of the file.
- Navigate to the Audio Transcript panel on the right and click the pencil icon next to the phrase you want to edit.
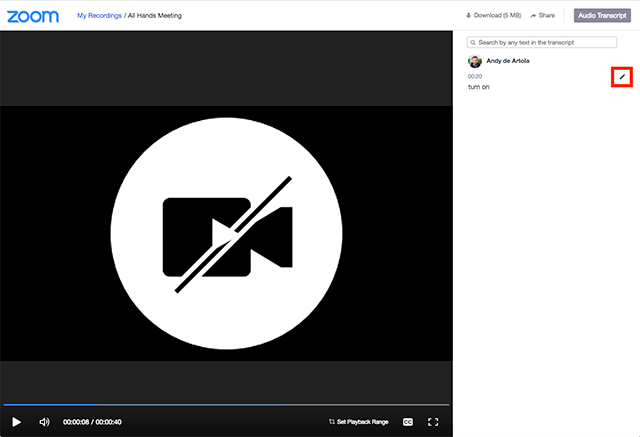
- Make any changes to the text, then click Save.
The updated version of the text is displayed when you play the audio or video file.
Embedding the Transcript
The transcript is automatically embedded within the audio and video file, but is hidden by default. To see the transcript embedded in the audio or video file.
- Open the audio or video file from My Recordings.
- Click the Play
- Click the CC icon at the bottom right of the screen.
Note: The text displays on top of the video, similar to closed captioning.
Searching within the Transcript
- Go to My Recordings.
- In the Search by list, choose Keyword.
- Type a word or phrase in the text entry box, then click Search.
Note:This shows the list of meetings that includes the keyword in the transcript. - Click the applicable meeting to view the transcript.
- Click the Audio Only m4a file, or the Recording or Gallery View mp4 file, if available. The text of the transcript displays on the right-hand side of the file.
- Navigate to the Audio Transcript panel on the right and type the keyword into the search box at the top. All instances of the keyword are highlighted.
How do I know if I am logged into Zoom?
Open the Zoom client.
- Click your profile picture in the top-right corner.
- Click Sign Out.
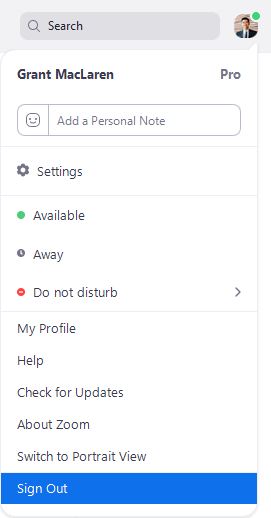
- Click Sign In.
Sign in to your desired account using your USC email. You should also be prompted to sign in using SSO.
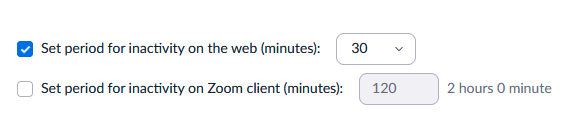
How Often Should I Log In To Zoom?
Users need to sign in again after a period of inactivity.
Disable ‘Join Before Host’
When you disable ‘Join Before Host’, meeting participants will sit in the Waiting Room until the Meeting Host starts the meeting. This gives the Meeting Host the ability to review the list of participants and Admit into the Zoom Meeting Room one at a time.
- Sign into usc.zoom.us.
- Click

- Click

- Under the Schedule Meeting options, disable the Join Before Host option.

Attendance Reporting
Zoom can create a report showing who attended a particular Zoom meeting, but that report is hidden. Go to https://usc.zoom.us/account/my/report, search for a meeting within a one-month window, and then click on that meeting’s number of participants in the “Participants” column.
Disable Screenshare, White Board & Annotation
Use the recommended screen sharing settings for your Zoom meetings to reduce Zoombombing.
- Sign into usc.zoom.us.
- Click
- Click
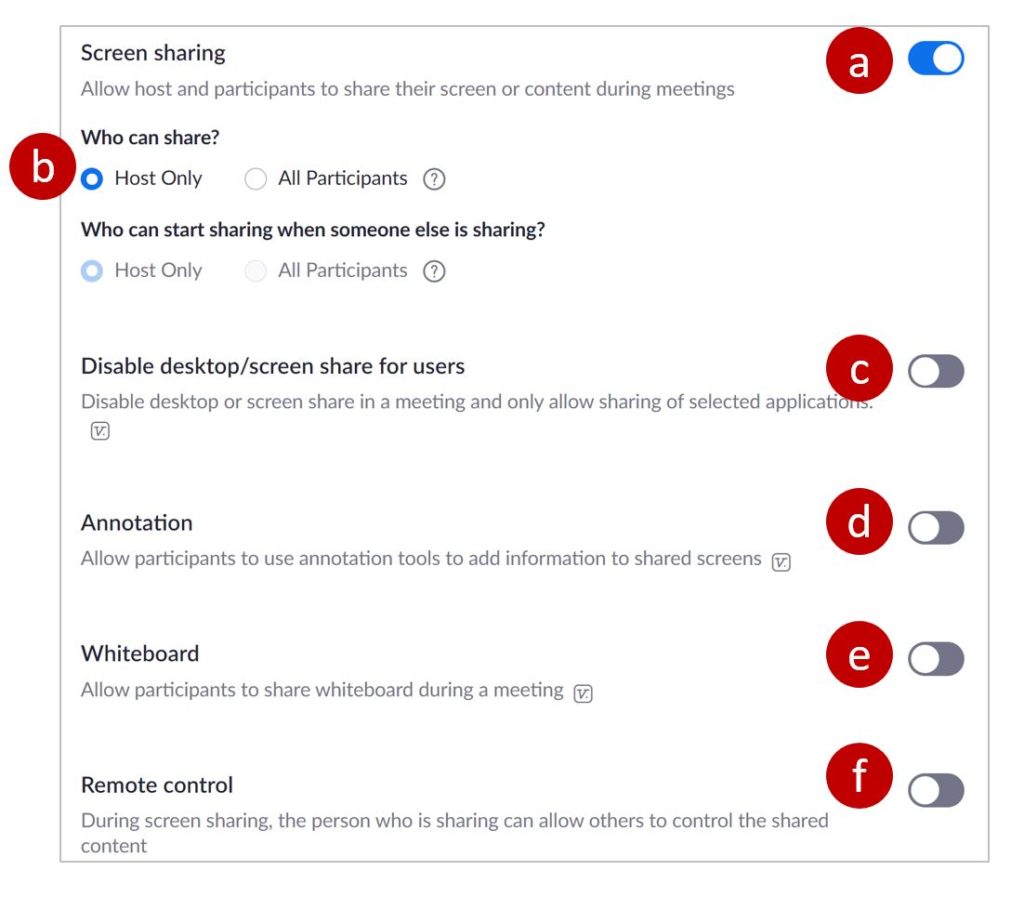
- Scroll down to the Screen sharing options and make the following selections.
- (a) Screen sharing: Activate
- (b) Who can share?: Host Only
- (c) Disable desktop/screen share for users: If you need to allow screen sharing during your Zoom meeting, you can change settings in the live meeting to allow screen sharing.
- (d) Annotation: Disable
- This feature can be used by Zoombombers to interrupt a meeting.
- Annotation cannot be activated in a live meeting if it is disabled in Settings
- (e) Whiteboard: Disable
- This feature can be used by Zoombombers to interrupt a meeting.
- Whiteboard cannot be activated in a live meeting if it is disabled in Settings
- (f) Disable: Disable
Pre-Assign Zoom Breakout Rooms
Use the below instructions to create Zoom Breakout Rooms, prior to class.
Please Note- All students must be signed to Zoom with SSO for this to work. Any participants allowed into the meeting from the Zoom waiting room, will not be pre-assigned into Breakout Rooms.
- Sign in to the Zoom web portal. Https://usc.zoom.us
- Click Meetings
- Find the meeting you want to have pre-assigned breakout rooms
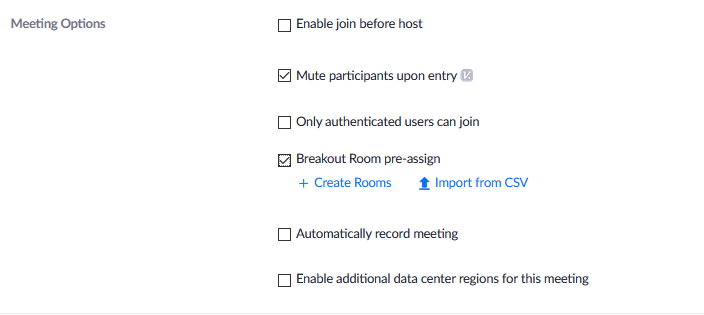
- In the Meeting Options section, select Breakout Room pre-assign
- Click Import from CSV.
- Click download to download a sample CSV file you can fill out and save on your computer.
- Be sure to open the CSV file with spreadsheet software like Microsoft Excel.
- Save the file. or create rooms manually online, as illustrated below. (Use a csv file if you want to save for later use)
9. Use the Import from CSV and select the file you saved.
10. During the meeting, You will need to use the Recover to pre-assigned rooms – Process. As outlined on https://support.zoom.us/hc/en-us/articles/360032752671 and illustrated below.
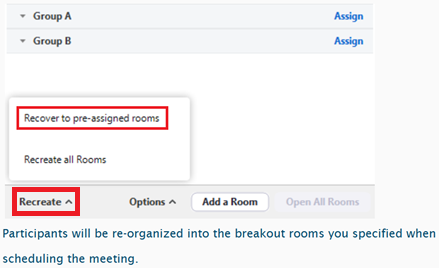
11. Once this process is complete, you will see pre-assigned Breakout Rooms.
12. You will then need to create the rooms.
Know Zoom’s Limitations
Zoom is arguably one of the best web conferencing platforms available. But it was designed more for live, one-off meetings than for recurring classes or lectures. Some of the things that you might want to do in a teaching platform like Adobe Connect, Brightspace or Canvas you simply won’t be able to do in Zoom.
For example:
- Student notetaking: Unless your students have large screens or external monitors, taking notes during a Zoom meeting requires that they frequently switch back and forth between Zoom and whatever program they use to take notes. There is no other workaround other than the students connecting to the Zoom meeting on a device separate from the one the students will be using to take notes.
- Pre-loading content: In a traditional learning management system like Brightspace, you can access your course site before the semester begins, change the site’s layout and appearance, upload documents and assignments, and more. You cannot do any of those things in Zoom. Zoom is simply a live web conferencing platform that lets you share your web camera and screen with others.
- Testing/Exams: While Zoom has a polling tool, it does not have a testing or exam tool. If you want to give your students a graded assessment, you will need to use an external tool like Brightspace.
- File-Sharing: While you can share files using the Chat box, Zoom meetings are not really meant to be file repositories. The largest file you can share is 512 MB. Tip: If you want to create a file repository for your course, use Brightspace or SharePoint.
- Polling: If a poll contains multiple questions, your students must answer all of the questions and then click submit before Zoom will record any of the students’ answers. In addition, only single choice or multiple-choice questions are allowed. Tip: for more advanced polling features, use Qualtrics or Poll Everywhere.
- Whiteboarding: Zoom’s Whiteboard (see Sharing a Whiteboard) is an effective tool for summarizing key points during discussions, but the button students click to download a screenshot of the whiteboard is hidden. While the whiteboard is on the screen, the students have to click the View Options pull-down list at the top of the whiteboard and then click Annotate. Only then will they see a Save button
Step-by-Step Videos
Import Zoom Meetings
Import Zoom Meetings
Automatic Zoom Recordings
Automatic Zoom Recordings
Provide a Single Zoom Link to All Students
If two classes were set up for the same section, you will need to provide a single Zoom meeting link to all students
The instructions below outline this process:
- Log onto usc.zoom.us.
- Click Meetings in the left panel.

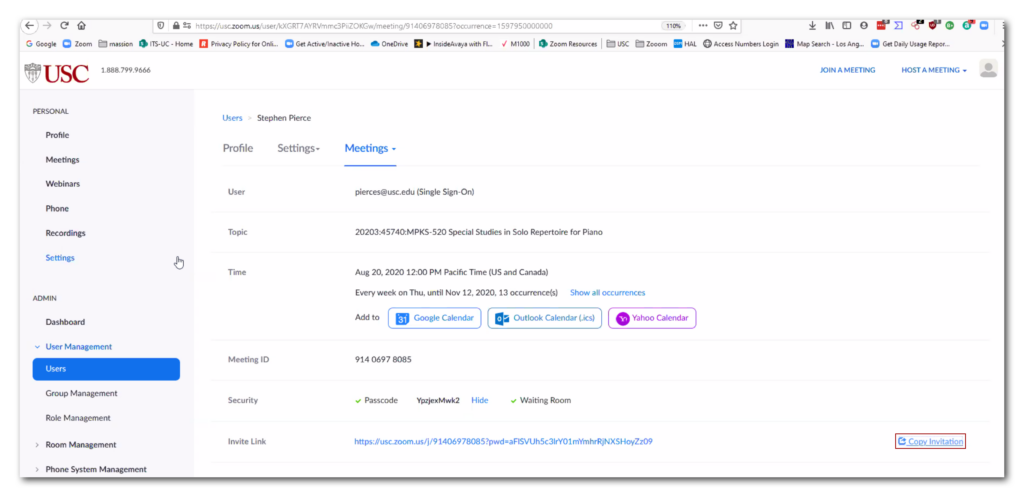
- Click the first of the two class instances that are double-booked.

4. Click Copy Invitation.
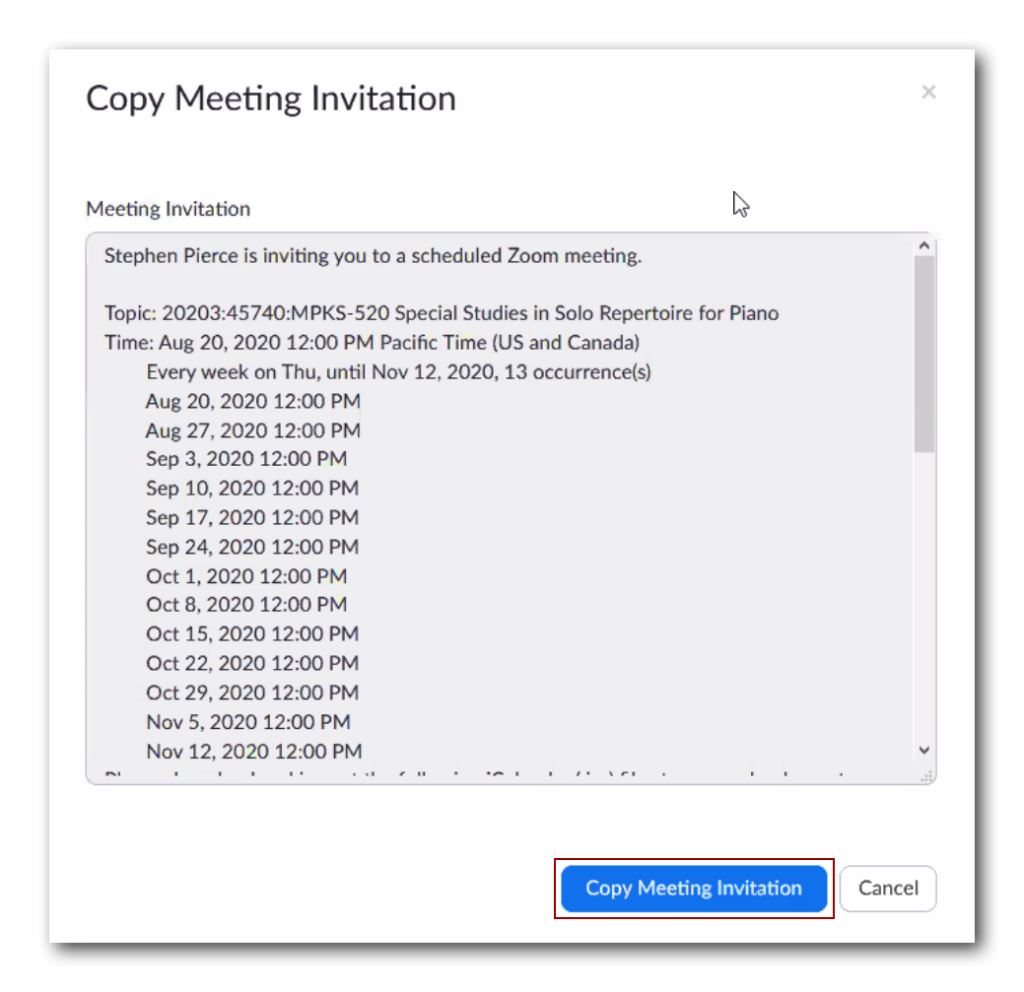
5. Click the Copy Invitation button on the pop-up screen.
6. Logon to Brightspace.
7. Create an Announcement as shown in this video for the second of the two class instances that are double-booked.
Paste the meeting invitation in the Announcement along with a note to your students to use that link for first week of class.
Zoom Polling
Zoom Emoticons
Using Zoom to ScreenShare
Sharing Handwritten Content in Zoom
Share the Whiteboard in a Zoom Meeting
Sharing the whiteboard in Zoom