Install Zoom
To use Zoom with Brightspace, you must have the Zoom app installed on your computer.
- In your web browser, go to: https://zoom.us/support/download
- A file called ZoomInstaller.exe will automatically download to your computer. Most end users will see the file appear in the bottom left-hand corner of the screen. Click the filename to begin the installation. You will also find the file in the Downloads folder on your C Drive.

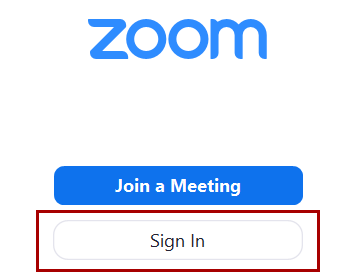
- A Zoom Meetings window appears when the installation is complete. Click Sign in.
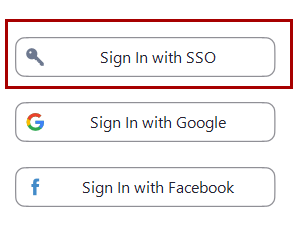
- Click Sign In With SSO
- Input “usc” in the Company Domain field.

- Click Continue
- Click Open Zoom Meetings
- The Zoom app installation is complete.
Join a Zoom Meeting via SSO
Use these instructions to join a Zoom meeting after logging in via SSO.
- Locate the Zoom app
 on your computer and click to open.
 - Click Sign In.
- Click Sign In with SSO.
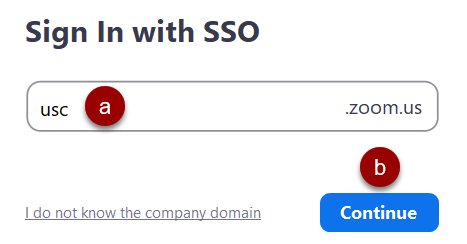
- On the Sign In with SSO screen:
- (a) Input “usc” in the Company Domain
- (b) Click Continue.
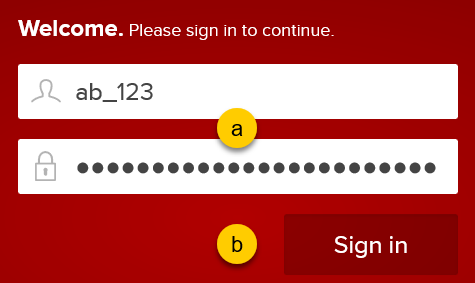
- On the Welcome screen:
- (a) Enter your Net ID and password.
- (b) Click Sign in.
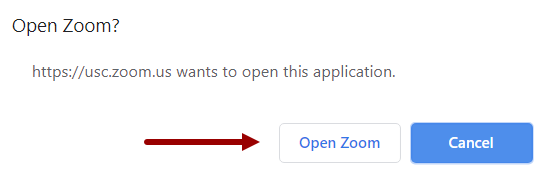
- A browser window opens. Click Open Zoom.
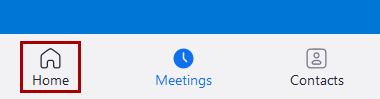
- The Zoom app opens. Click Home.
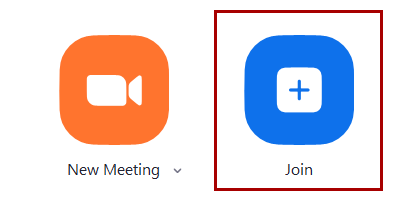
- Click Join.
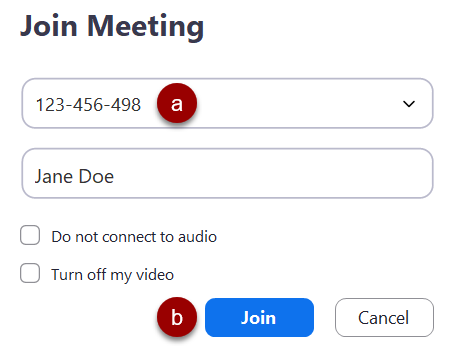
- On the Join Meeting screen:
- (a) Enter the meeting ID. You will find this in the invitation or e-mail from the host.
- (b) Click Join.
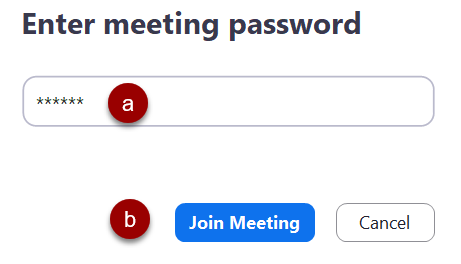
- If prompted:
- (a) Enter a meeting password. You will find this in the invitation or e-mail from the host, usually below the meeting number.
- (b) Click Join Meeting.
- Wait for the meeting to start and for the host to admit you into the meeting from a waiting room. This task is complete.
Enable Zoom in Brightspace
The Brightspace helpsite provides additional information and how-to guides for both instructors and students to use these tools.
Schedule Class With Zoom
- Navigate to your course in My Courses module.
- In the menu on the left, click the Zoom link.
- Click Schedule a New Meeting.
- On the Zoom screen, complete the following fields:
- Topic: Meeting topic (e.g., Thursday lecture)
- Description: Description of the meeting/lecture.
- When: Start time and date of the meeting.
- Duration: Meeting duration.
- Video – Host: Select “On.”
- Audio: Select “Both”
- Meeting Options:
- Select Require Meeting Password and input a password.
- Select Enable waiting room.
- Select Record the Meeting Automatically and In The Cloud
- Alternative Hosts: Contains TA’s and others who are automatically assigned to the course. Cannot be changed.
- Click Save. You will need to send the meeting link to your students using a Brightspace Announcement.
Send Brightspace Announcement With Zoom Link
The Brightspace helpsite provides additional information and how-to guides for both instructors and students to use these tools.
Setup Zoom Meeting from Brightspace
The Brightspace helpsite provides additional information and how-to guides for both instructors and students to use these tools.
Start / End Zoom Meeting from Brightspace
The Brightspace helpsite provides additional information and how-to guides for both instructors and students to use these tools.
Remove Auto-Generated Zoom Meetings
In the event that you want to remove the zoom meetings that were auto generated this is the procedure.
The Primary instructor needs to login to:
https://usc.zoom.us/meeting#/upcoming
Find the series of the of the recurring meetings and select Delete.
