- Service Now List request creation
- Login to LISTSERV
- Setting Your Personal Preferences
- Using the List Management Dashboard
- Add a single-user
- Subscriber Reports (Bulk operations)
- ListServ FAQs (on Sharepoint)
- Livi The Mailing List Assistant
Service Now List request creation
To create a Listserv list, please submit a ServiceNow Catalog request by following these steps:
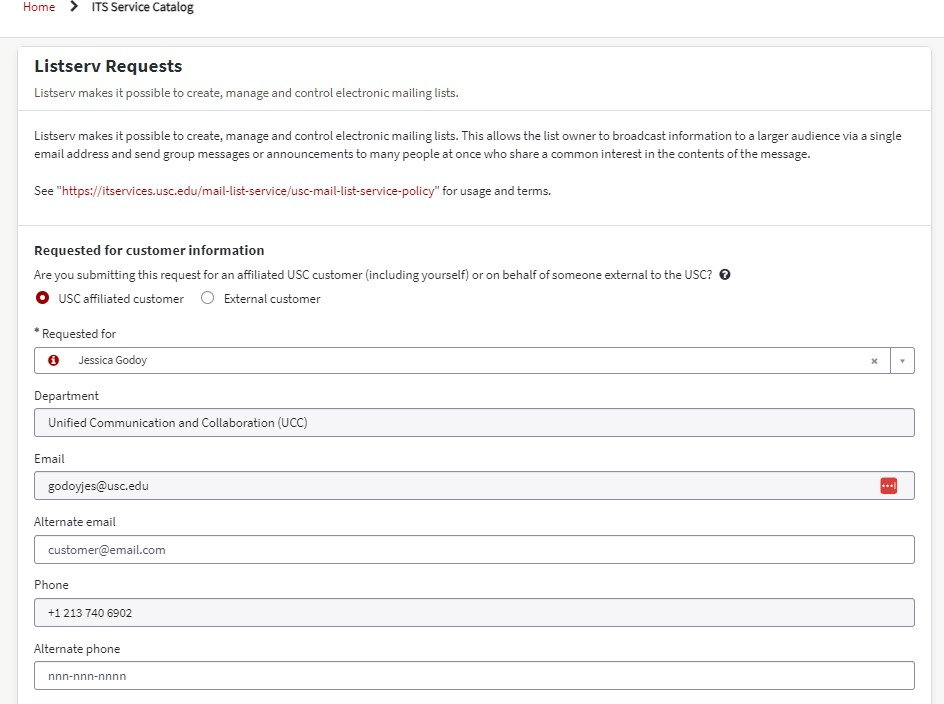
- Access the Listserv Request Form:
Visit the Listserv Request form in your ServiceNow portal. Go to Service Now, Listserv Request found in -> ITS Service Catalog -> Applications -> Email & Chat.
- Customer Information:
- Requested For:
Provide the relevant customer information. Fill out the details for the customer, including their name, department, email, phone, and alternate email and phone (if available).
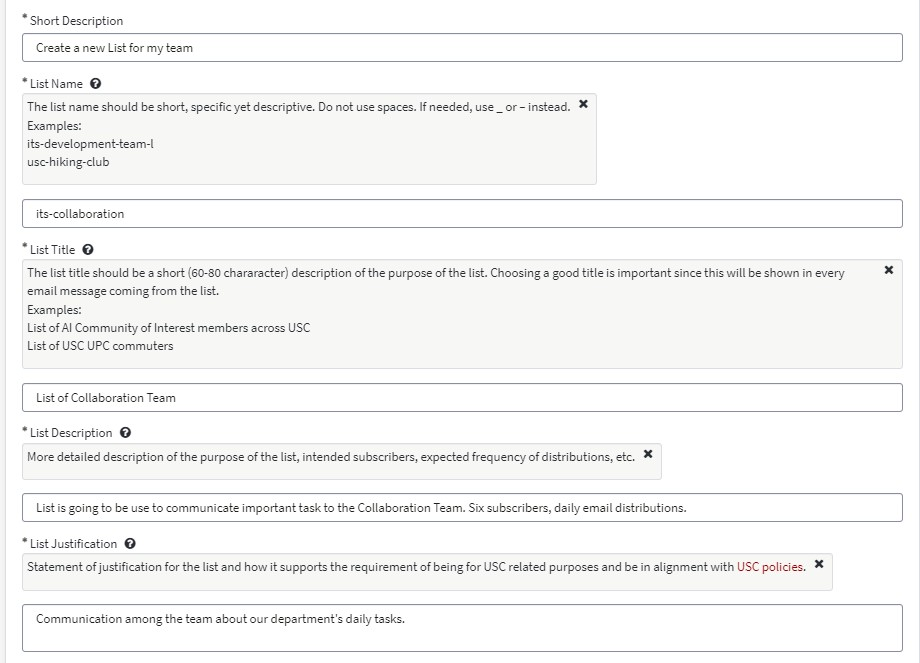
- Short Description: Enter a short description of your request. For example: Create a new List for our Team.
- List Name: Choose a short, specific, and descriptive name for your Listserv. Ensure it does not contain spaces. You can use underscores (_) or hyphens (-) if needed. For example, “its-development-team-l” or “usc-hiking-club.”
- List Title: Create a short (60-80 characters) title that describes the purpose of the Listserv. This title will be displayed in every email message sent from the list. For instance, “List of AI Community of Interest members across USC” or “List of USC UPC commuters.”
- List Description: Provide a more detailed description of the Listserv’s purpose, including intended subscribers, expected frequency of distributions, and any other relevant information.
- List Justification: Write a statement justifying the need for the Listserv, explaining how it supports USC-related purposes and aligns with USC policies.
- List Owners and Editors: Specify the owner and moderator names for the Listserv. These individuals will be responsible for managing and controlling the list.
- List Style and Membership Control Options: Indicate the preferred list type, e.g., Newsletter/Announcement , Private, moderated, etc.
- Request Details: Enter any additional request details or special instructions related to your Listserv request.
- Submission: After completing all the necessary fields, review your request to ensure accuracy and completeness. Then, submit the request through the ServiceNow portal.
Your Listserv request will be processed, and if it is approved, the List will be created based on the information provided.
The List Owner will be notified through the Service Now request that the list has been created. When authenticated on the Listserv web page https://maillist.usc.edu, the list owner will see the new list in their listing of lists that they are subscribed to and owners of.
The List Owner will need to finalize the configuration of their list.
Process for managing and navigating your list on Listserv.
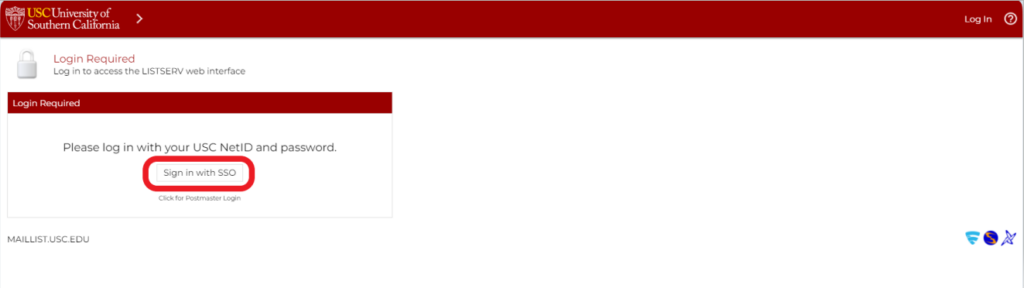
Login to LISTSERV
- Once you receive the notification that the list was created. Go to https://maillist.usc.edu
- Click ‘Log In’ in the upper right corner of the screen to access LISTSERV’s web interface.
- Use your NetID and password to sign with Single Sign On (SSO)
- Validate your identity with DUO.
- After signing in, you will see the ListServ web interface.
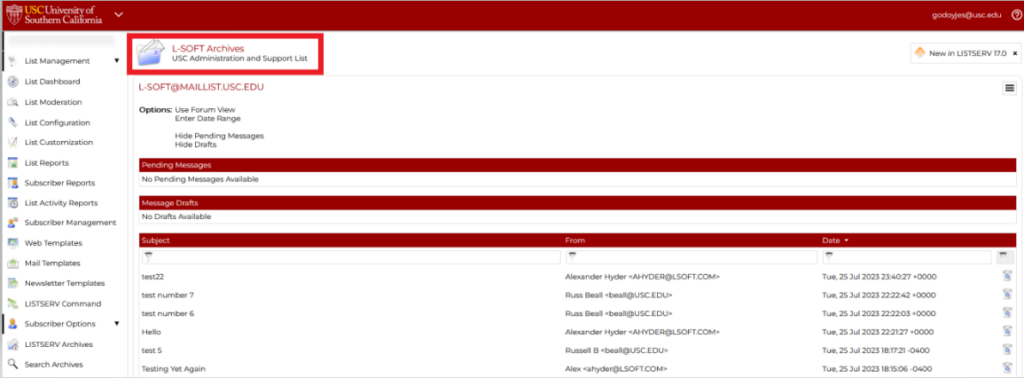
Using the List Management Dashboard
The top part of the List Management Dashboard gives you the ability to control which lists are displayed, also “List Dashboard” is the page of your list where you can view owners, number of subscribers, and view the list archive/history.
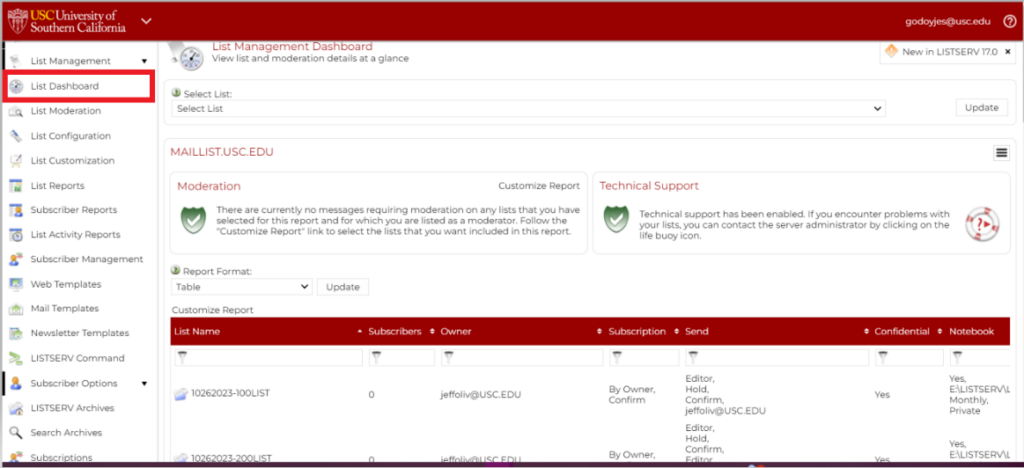
Note: The “Select List” option won’t show when the user is part of one list.
- Moderation section: lists any messages that are awaiting moderation. The messages displayed here belong to a list for which you are listed as a moderator.
Note: This section is only displayed if you are a moderator on one or more lists. In addition, only two icons are used in this section. The green icon indicates that there are no messages pending moderation; the orange icon indicates that there are messages pending moderation.
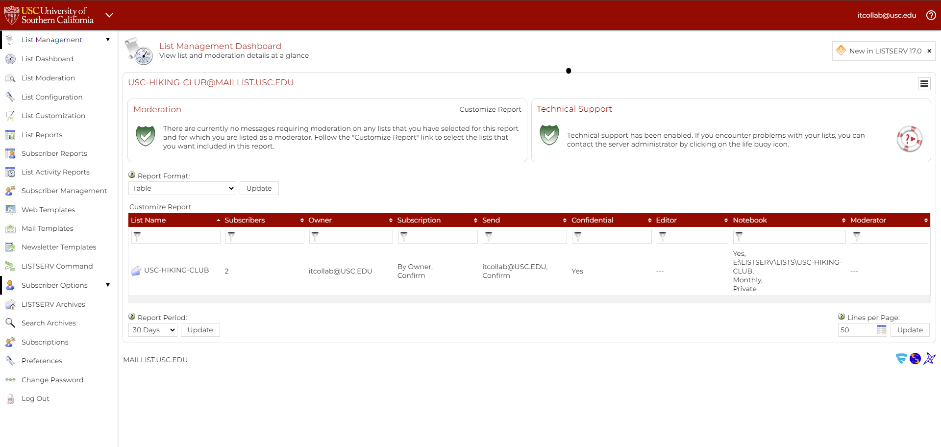
- Report Format: This pulldown menu controls how to display the information. You can choose to view the data in a table or as a variety of charts, including bar charts, line charts, and a radar chart. Only numerical data like subscriber counts and list activity statistics will be included in the charts. You can also download the data as a CSV file. To change the report format, select one option in the menu and click “Update”. Note that the same sort order and any filters also apply to the graphical charts and the CSV file.
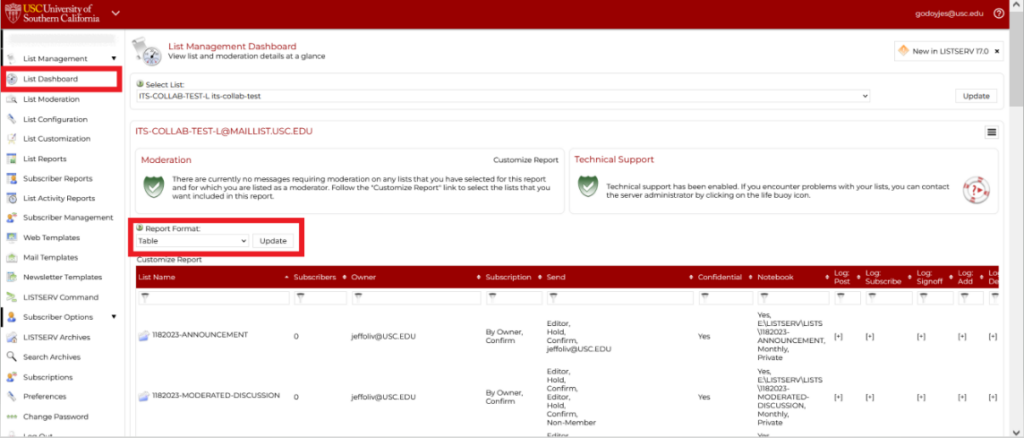
- Customize report: To add or remove columns from the table, click the Customize Report option.
Under the “Customize Report” section, if you click on the list name “YOUR LIST NAME” – it will take you to the archive/history of the list where you can view message logs.
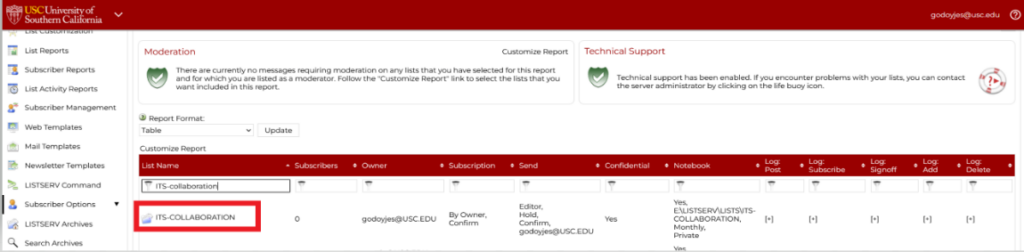
“YOUR LIST NAME” Archives is where you can view detailed message logs. If you click on a message, you’ll get detailed information like message ID and time stamps.
List Configuration
- Under the “List Configuration” tab, you’ll have a variety of options where you can name/rename your list and give a detailed description of it. You can add administrators, and make any modifications by making or changing your list public, private, etc.
- Once you’ve selected the list you wish to modify, navigate to the List Header, where you have the flexibility to edit using the Wizard or Edit manually.
- Here’s a glimpse of what you can see and edit: Description of the list, the administrators/owners, all the subscription details, define who is allowed to subscribe or send messages to the list. Security Settings, Archive and logs configurations, Attachment settings, Error Handling, Distribution options, and other list settings.
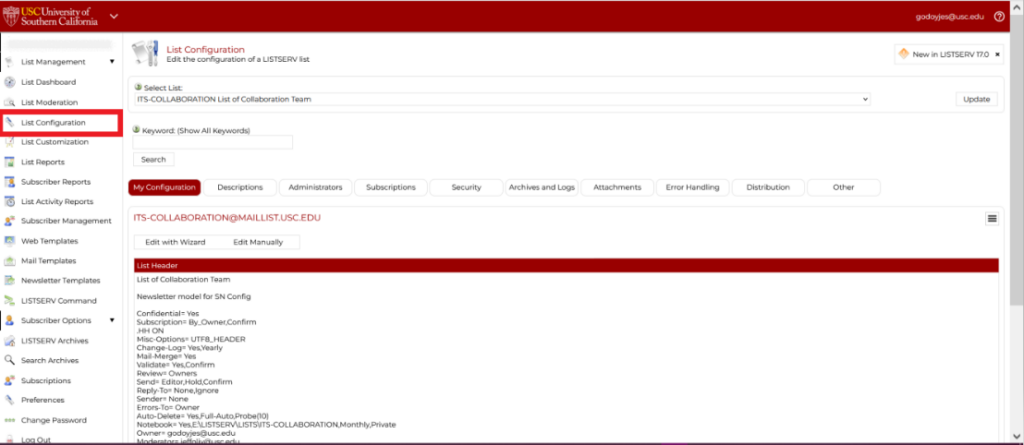
NOTE: Before making any change, select a list and validate the list that you want to modify.
Subscriber Options
“Subscriber Management” is where you add, delete, or change subscribers/members to the list individually (not bulk). Make sure to select the List first from the “Select List” field.
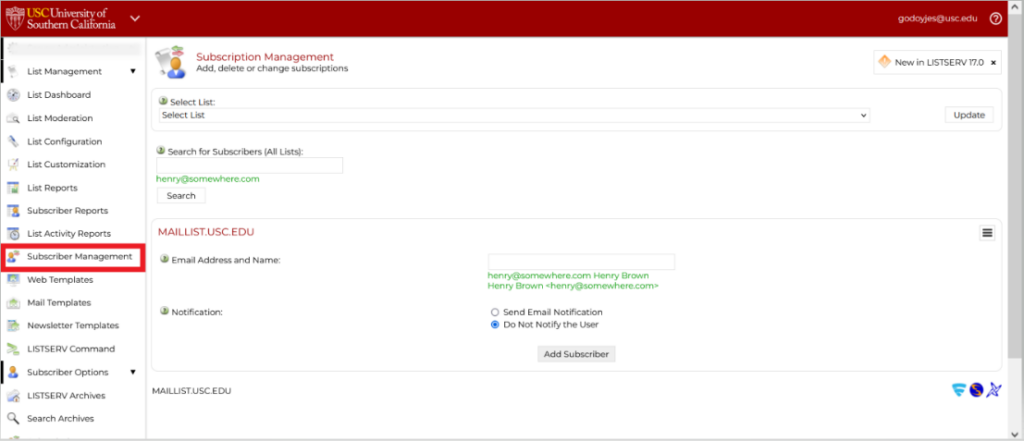
Add a Single User
Under Subscriber Management, enter the user’s email address in the Email Address and Name fields.
If you do not want the user to receive an email stating that they have been added to the list, check “Do not notify the user.” If you do wish them to receive an email, check the “Send email notification” option.
Click Add Subscriber.
You will see the message with the action that was taken.

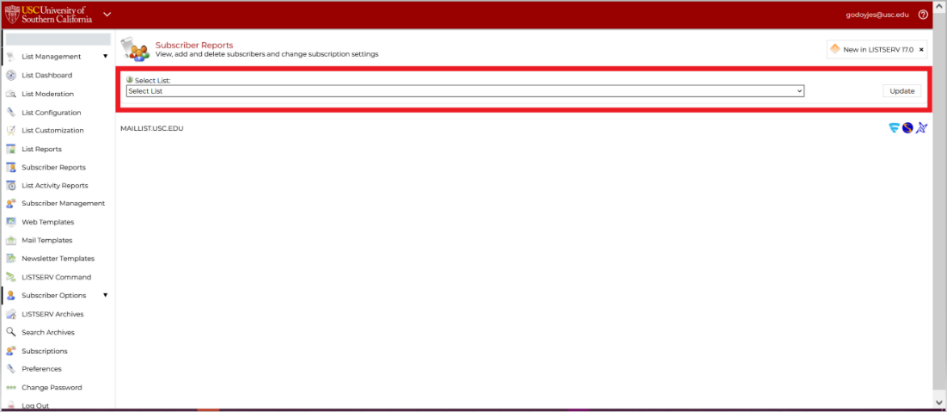
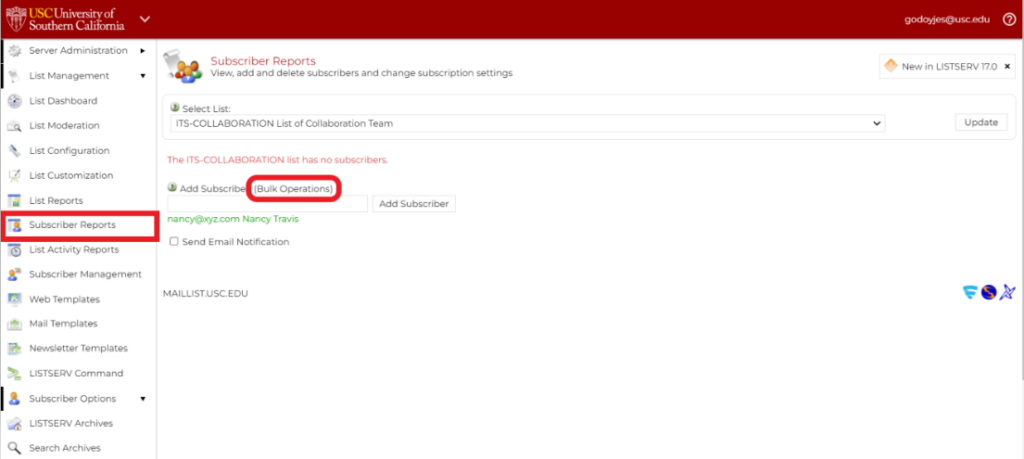
Subscriber Reports (Bulk operations)
To view, add, and delete subscribers and change subscription settings:
- Under “Subscriber Reports,” you can add or remove subscribers to the list with the Bulk Operations option.
- Select the list that you want to modify.
- Go to Add Subscribers and select the “Bulk operations” option. Choose the option “Add the imported addresses to the list”. Use a test (txt) file with the email address and username for each line. For example, jamesr@usc.edu James Red.
- Click “Choose File,” browse to and open the text file with the email addresses list, and click “Import.”

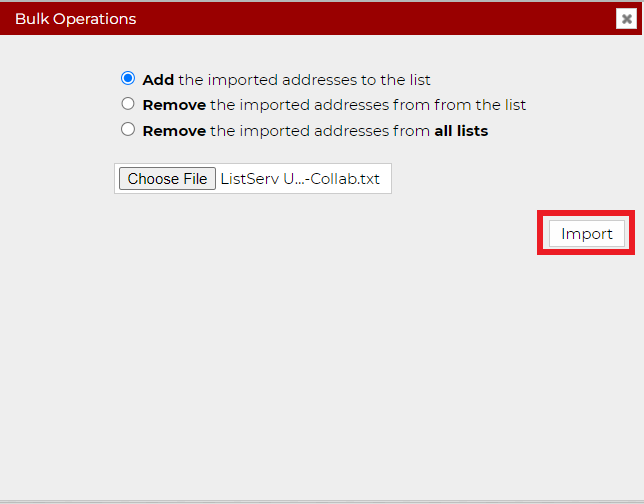
- You will see the message with the ADD results and the user’s details added to the list.
- To remove the subscribers from the list, click the Bulk Operations option and choose “Remove the imported addresses from the list.” Choose the file and select Import.
- A message with the deleted results will show.
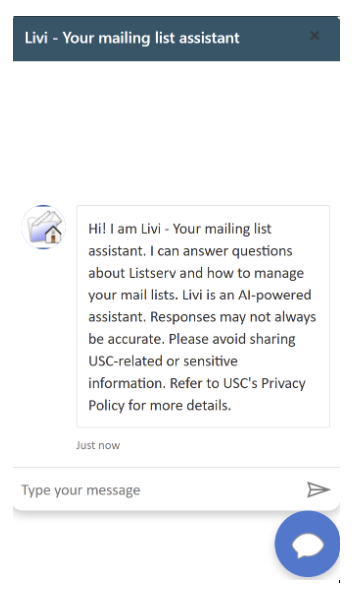
Livi – The Mailing List Assistant
We’re excited to introduce Livi, a new chatbot designed to help you with mailing list support faster and easier.
Just visit our Listserv web page https://maillist.usc.edu/ and click the  chat bubble in the bottom-right corner of the screen to ask questions, get help with common tasks, manage your subscriptions, or troubleshoot issues on your own. Livi can walk you through it all.